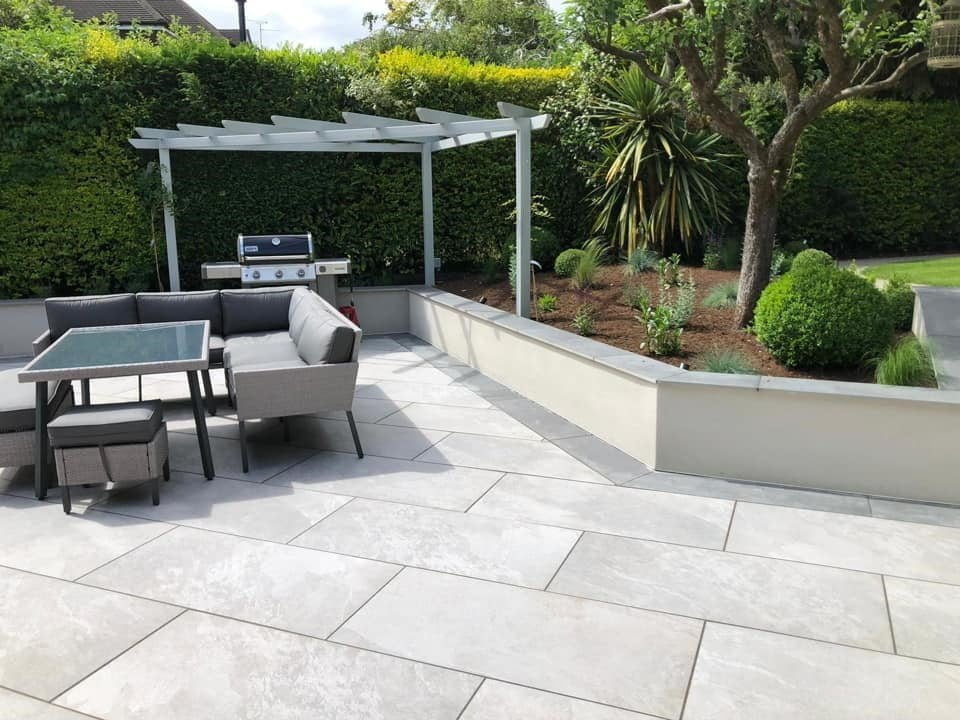
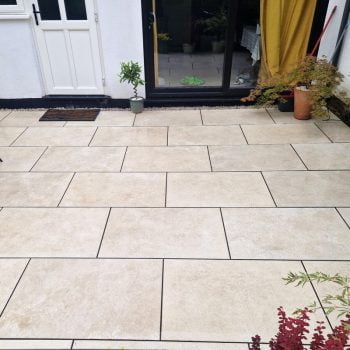
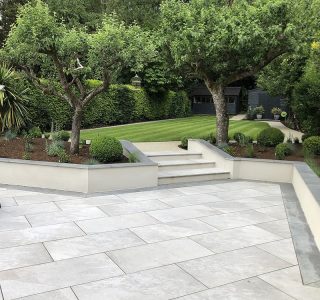
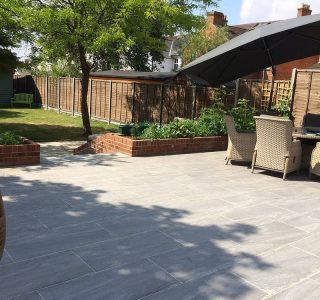
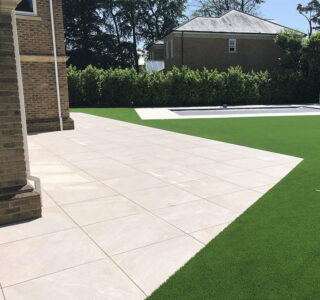
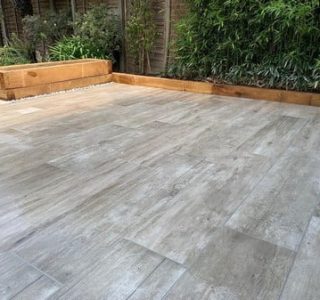
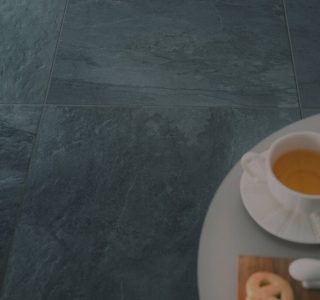
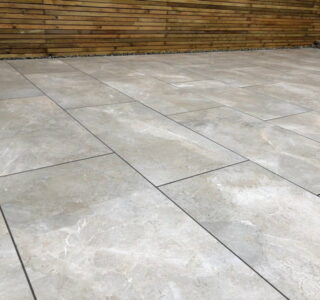
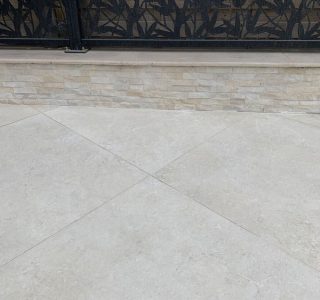
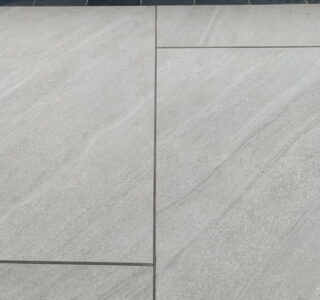
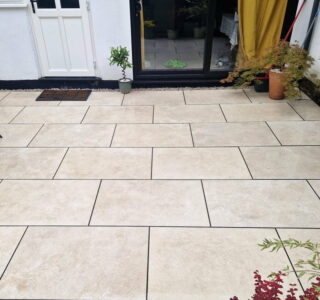
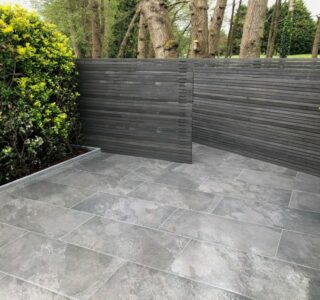
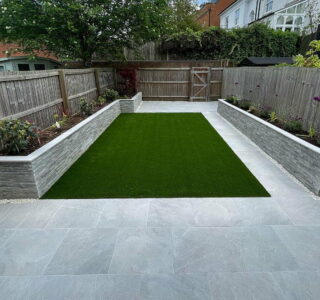
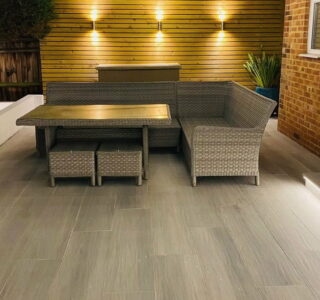
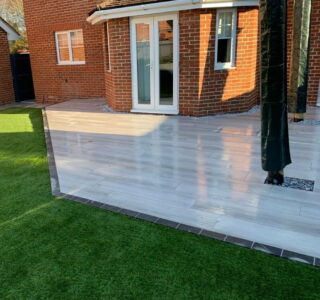
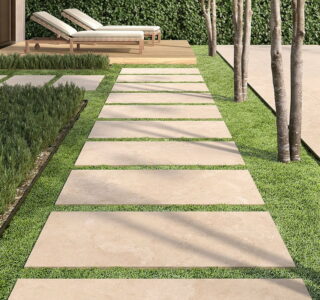
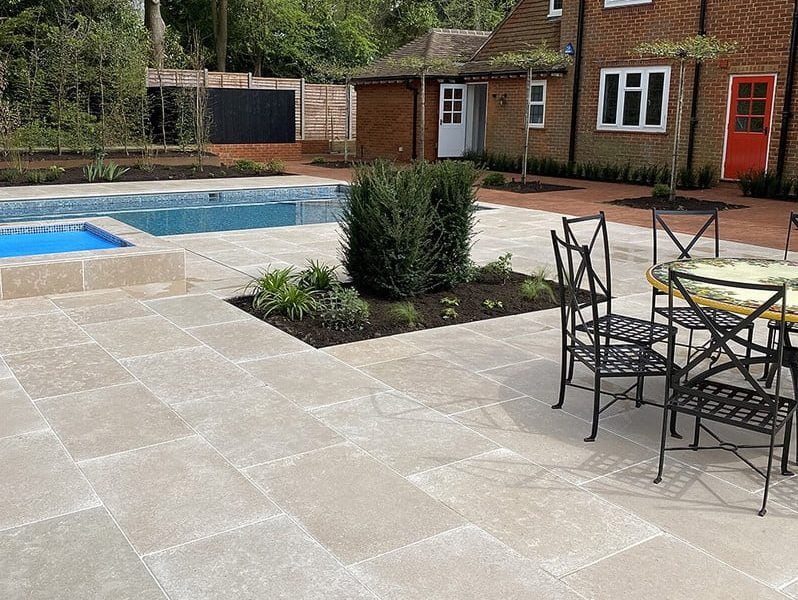
What’s different about laying porcelain?
We often get asked by landscapers and garden designers about the finer points of finishing a porcelain project. Because of its superb durability, porcelain paving is low maintenance and doesn’t need any additional treatments such as sealants during installation. However, there are a few differences between laying porcelain and natural stone.
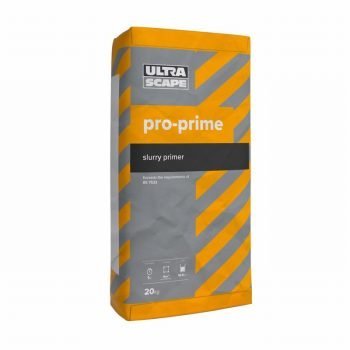
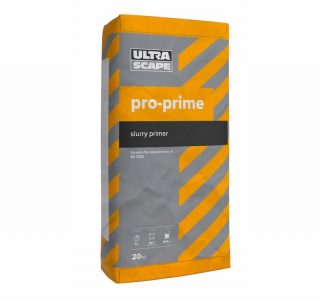
If you’re thinking about laying porcelain paving, we recommend reading our porcelain product guide thoroughly to understand the basics. These include laying on a full bed of mortar over a compacted sub-base, using a slurry primer and ensuring a minimum joint width of 5mm.
In this blog, we thought we’d expand on this and share some of our top tips for achieving that top-quality finish in your porcelain paving jobs.
How do I cut porcelain paving?
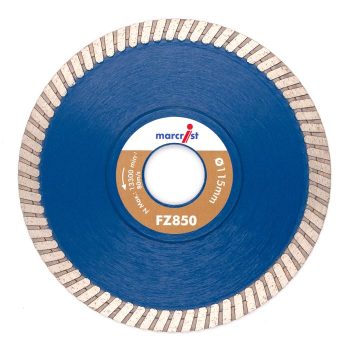
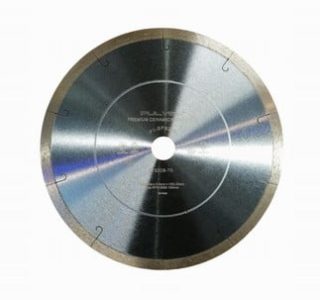
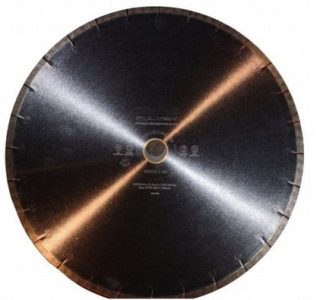
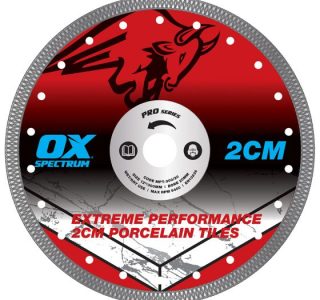
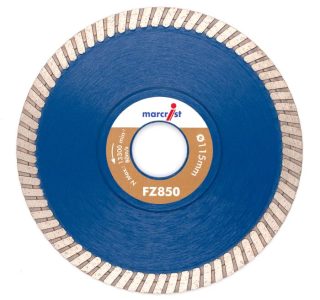
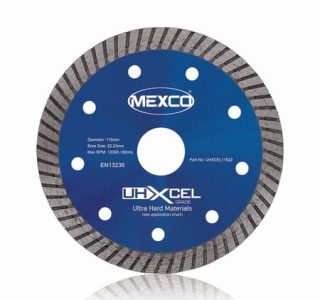
Porcelain is exceptionally hard wearing, but it can chip when being cut. You don’t want your attention drawn to unsightly dinks around the edges of your tiles. Our advice is to use a dedicated porcelain diamond blade. Score when dry, add water and cut completely through both ends. then work slowly through the rest of the cut. This way you should achieve a beautiful clean finish.
4. In-page images (not related products) should be 4:3 aspect ratio. Ideal size: 650px x 487px.
Can I get a curved edge on porcelain paving?
Curved edges are an all-important element of many great garden designs. But some people think that these can’t be achieved with porcelain. However, cutting on a curve is straightforward if you have a handheld grinder with the correct blade and are confident using it. Always let the weight of the tool do the work and never force it or it will crack.
Alternatively, bespoke cutting services are available so your paving is ready to install. We are happy to arrange bespoke cutting on any of our porcelain paving products.
How do I get a level surface?
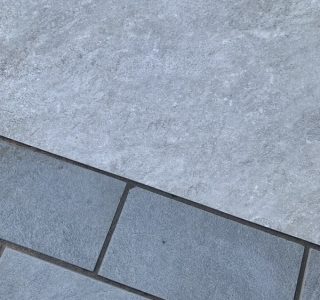
Porcelain tiles naturally have a very slight high point in the middle. This is usually unnoticeable, but it becomes more obvious the longer the tile and the narrower the joints. This can be unsightly and a trip hazard. To avoid this, start by dry laying your tiles on a flat surface. If it looks like your lippage is excessive, (for example with larger tiles like 900×600 or 1200x600mm) always use a third or quarter bond to keep your surfaces nice and level.
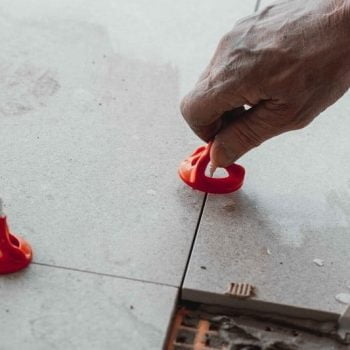
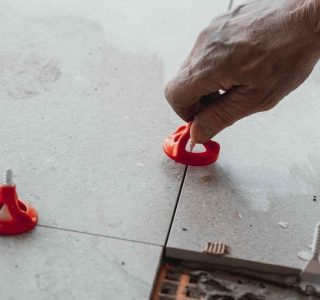
You can also use a tile leveller, like the Flat-Pro Twist-It system which not only levels your tiles, but helps you achieve a consistent 4mm joint-width.
Do I need full colour-bodied porcelain?
If your porcelain is full colour-bodied, the body of the tile should look a similar colour to the surface. This means that if you end up with the odd chip, it shouldn’t be too obvious. The alternative (on lower budget products) is a glazed finish where the tile will be a different colour under the surface.
Porcelain laying essentials
What steps and edges can I use with a porcelain patio?
Full colour-bodied tiles can work well when used around patio edges or as a step tread with the straight cut edge showing outwards.
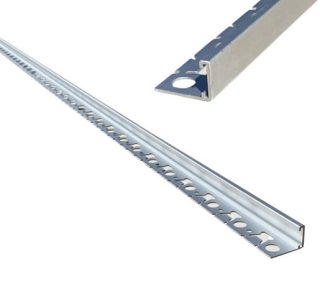
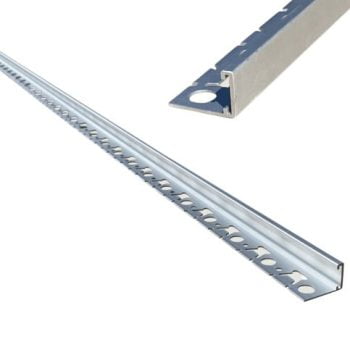
Metal trim like CORE Pro Aluminium Edging can also be a great way of finishing edges and steps if you’re using porcelain paving.
Natural stone steps and porcelain and natural stone setts, can also look great alongside porcelain to finish off and add character to a project.
If you’d like something a bit different, bullnose or mitred-edge steps can create a smart finish. Find out how to order bullnose steps and profiled edges for your project.
What grout do I need for porcelain?
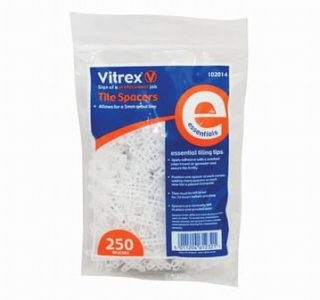
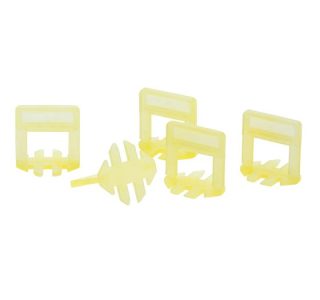
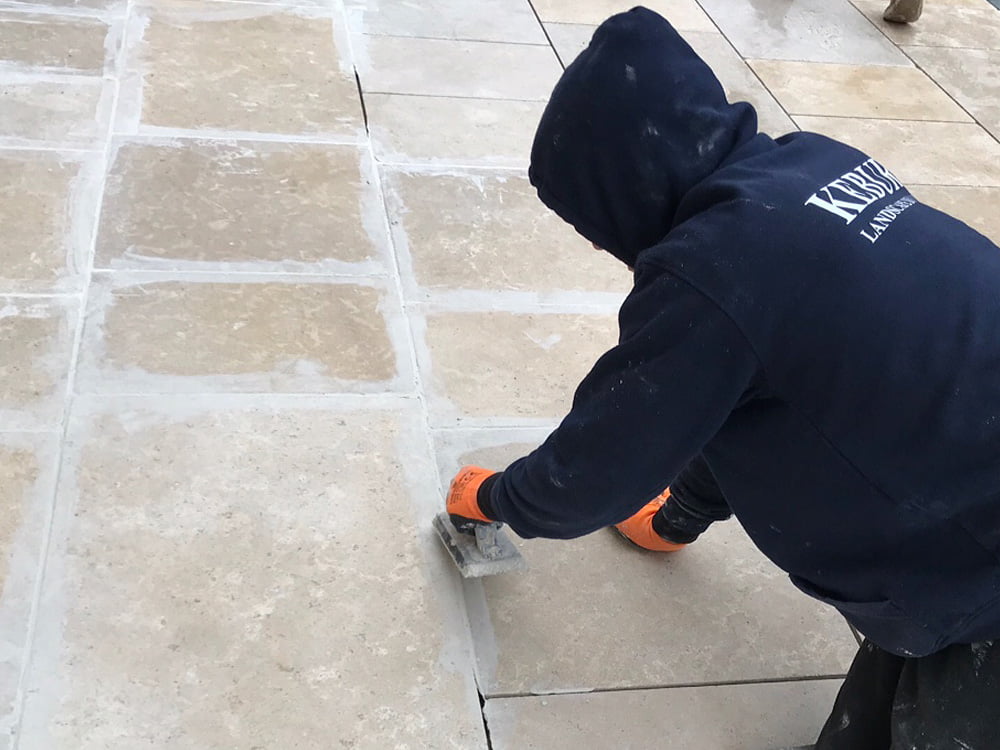
How you joint your paving will make a huge difference to the overall effect. A crisp finish to your joints is especially important when they are narrow and have a rectified edge like porcelain. Using tile spacers can help you to achieve precision joints.
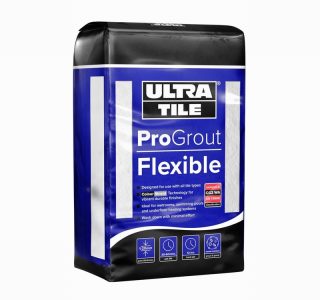
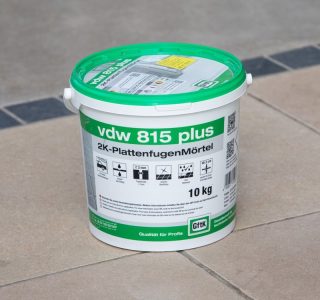
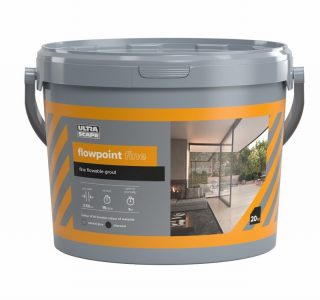
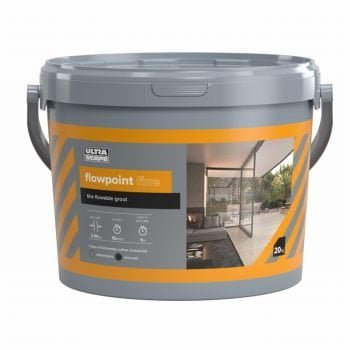
We also find an external tile grout is ideal because it is fine enough for 5mm joints and flexible enough to withstand a bit of movement. It usually comes in a choice of colours. Some jointing compounds can be suitable for porcelain if you’re using a permeable sub-base, but may not give quite such a smooth finish.
Can I use the same porcelain inside and outside?
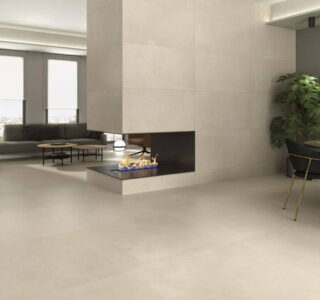
Using the same flooring inside and out can really maximise the feeling of space and in turn add value to a property. You can find many porcelain tiles that are available for both internal and external use. The difference is that internal tiles are thinner and slightly smoother (10mm with R10 slip rating) than external tiles (which tend to be 20mm with an R11 slip rating for grip)*. This means the design will be the same but there is a subtle difference in the texture. These products can look fantastic with bifold doors to create a seamless outside-inside living space. Just make sure that your paving is laid 150mm below the damp proof course to prevent water ingress.
*You can use 10mm tiles outside if they are specified as suitable for external use, but they must be laid on a reinforced concrete base using external tile adhesive.
