How to lay garden sleepers
Sleepers are a hugely adaptable product that have become increasingly popular in garden landscaping and design. With a little imagination, you can achieve stunning results...
Why use garden sleepers?
Sleepers are hugely versatile and can be used in a wide variety of building and landscaping projects. Whether you are making sleeper steps, planters, edging, terracing, screening or benches, our timber sleepers come in a choice of materials so you are sure to find one suited to your garden project. This guide is to help you decide which sleeper is right for you, and to give you some basics on constructing with sleepers and design ideas for your garden.

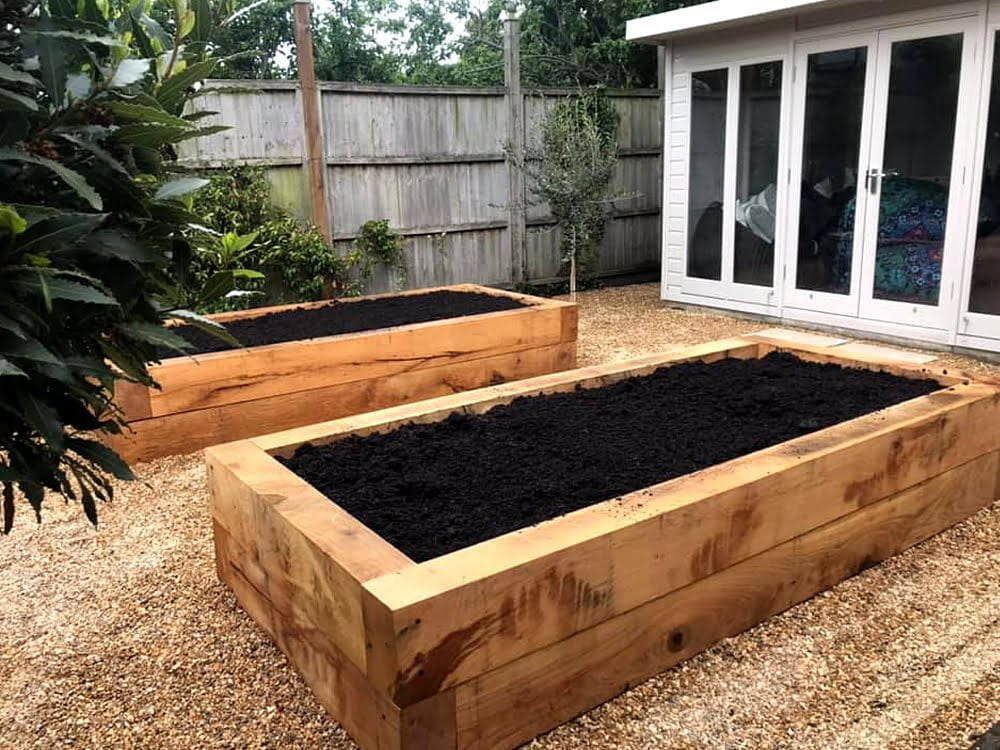
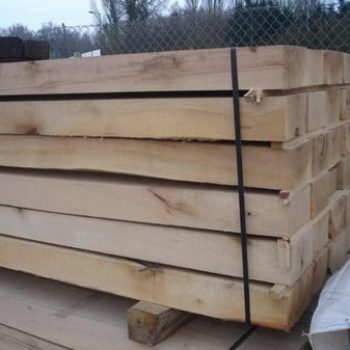
New Oak Sleepers:
These are surprisingly good value. Made from European Oak, they provide a neat modern look and have become the most popular choice in our range.
Planed Treated Green Softwood Sleepers:
Made from redwood that is pressure treated for long lasting protection. These sleepers are planed with rounded edges, giving a smart and smooth appearance.


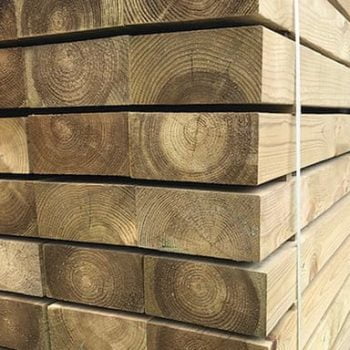
Treated Brown Softwood Sleepers:
Lighter in weight than hardwood sleepers and easy to use. These sleepers are pressure treated for long lasting protection.
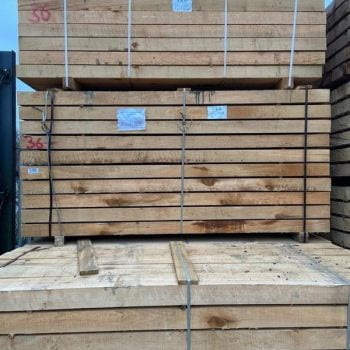
New Treated Brown Hardwood Sleepers:
Made of Alder, Aspen or Birch and are less likely to split than oak sleepers.


Reclaimed Sleepers:
These are the sleepers that have been on the railway. They give an attractive rustic look, but be careful when handling them as they can be very heavy. The chemicals used in them also mean they aren’t suitable for use in play areas or where they may come into contact with skin.
1 Secure your sleepers
When using sleepers for a retaining wall, or for steps or terracing, firstly, make sure your area is clear of debris and vegetation and dig down a shallow trench. Concrete the sleepers in on a 100mm deep bed. Haunch at the back end of the sleeper and if possible, the front end too. This will help fix sleepers to the ground so they remain stable. If using sleepers for a low border or planter it may well be enough to fix a wooden post or spike behind the sleepers and fix this into the ground.
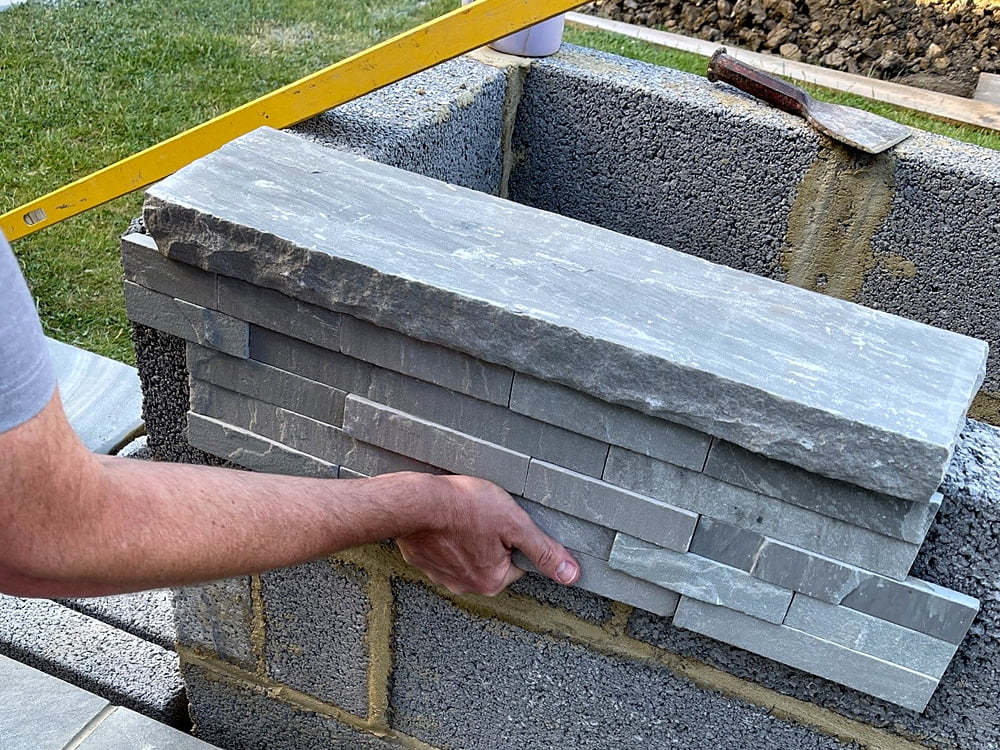
2 Stack your sleepers
Overlap them neatly at the corners, making sure they are level with a spirit level. Sleepers are usually cut with a handsaw, an electric saw or a chainsaw. Softwood sleepers are easier to cut at home with basic DIY equipment than hardwood. Always wear personal protective equipment and seek professional help if you are at all unsure.
3 Connect sleepers together
There are various ways of connecting sleepers together if building planters or walls. Steel rod pins are a good way to secure a higher stack of sleepers. You can use long landscaping screws that are counter-sunk into the sleeper, or metal plates and corner braces on the inside of the build which helps keep the build nice and square
4 Finish your surface
Sand off any sharp splinters of wood. You may like to cover sleepers with a wire mesh or cut grip into the surface if you are using them as steps, as they can become quite slippery when damp.
Related products

New Oak Sleepers
£48.95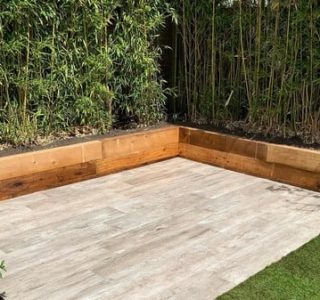
New Treated Brown Soft...
£23.50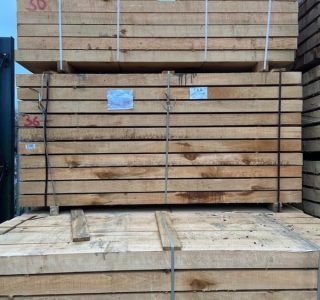
New Treated Brown Hard...
£31.50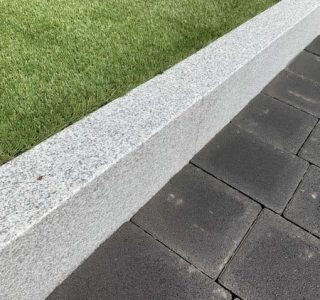
Kebur Natural Granite ...
£49.95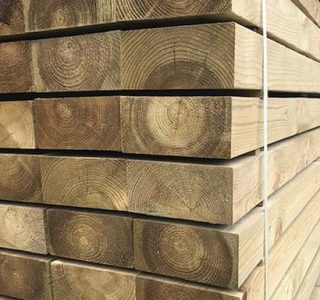
KDM Planed Treated Gre...
£33.95
Sleeper Pin
£3.50

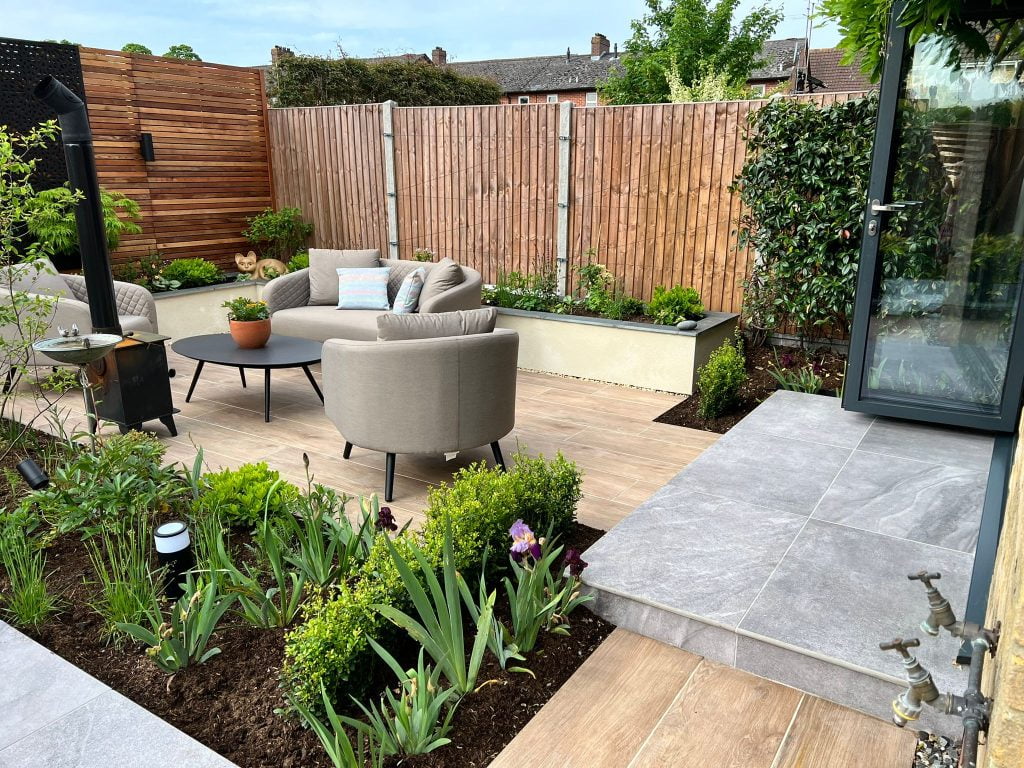
How to use sleepers in your garden design
Sleepers can be incredibly versatile and using them upright can look really eye-catching for a wall or palisade. Consider varying the heights of vertical sleepers for added interest. You can butt them up together for a smart solid wall or space them out slightly to create a privacy screen. Create straight or curved walls. Remember to ensure a third of the sleeper is fitted/secured into the ground to make sure the vertical sleeper is well supported.
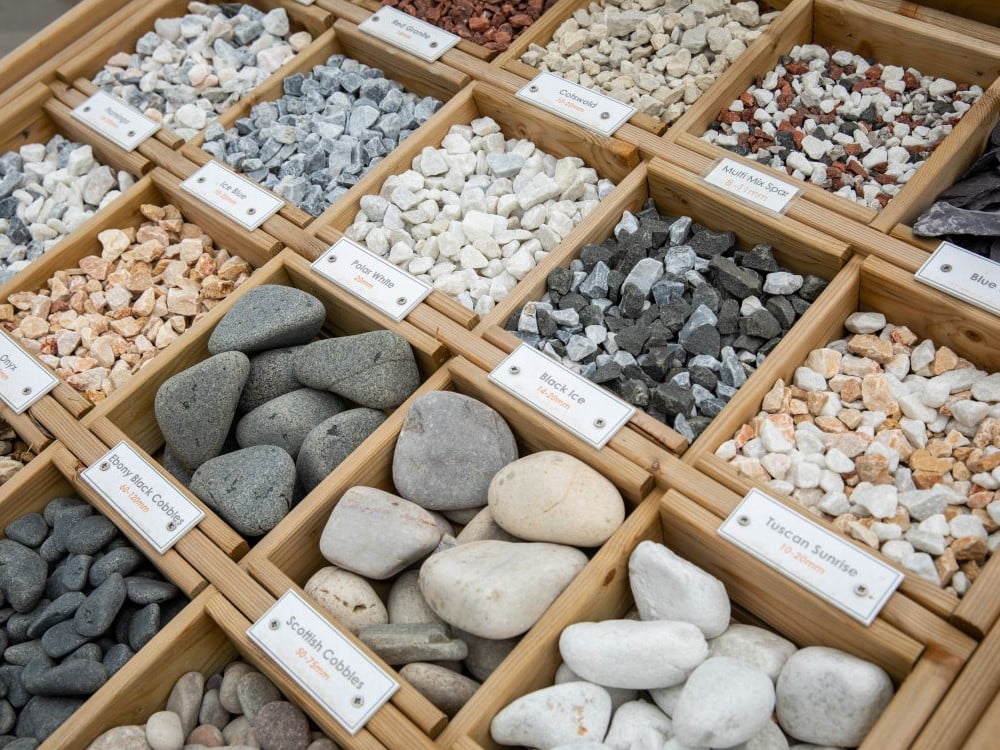
Consider using railway sleepers on a pathway, space apart at a stride’s length and infill between with gravel, decorative aggregates or grass.
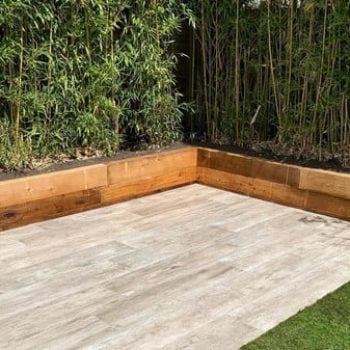
Finish sleeper planters or low walls with a horizontal layer which can double nicely as a bench.